
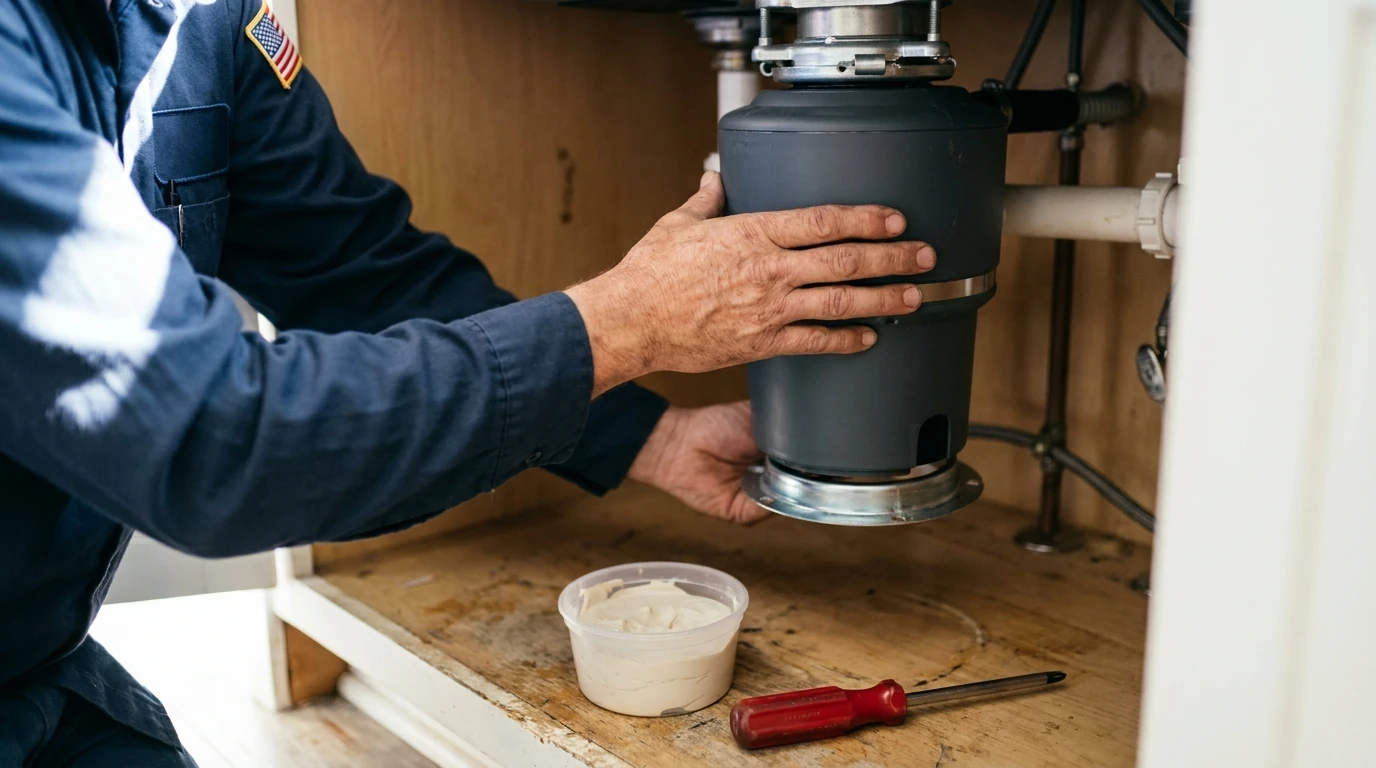
TL;DR: Installing a new garbage disposal means unplugging the old unit, removing the mounting ring and sink flange, sealing a new flange with plumber’s putty, mounting the new disposal on the quick-release ring, and reconnecting the discharge pipe and dishwasher inlet if present. Most DIYers can do it with basic hand tools, but if the unit needs new electrical wiring instead of a simple plug, that part is a job for a licensed electrician or plumber.
Before you replace it, troubleshoot: test the outlet under the sink, turn the kitchen circuit breaker off for a minute and back on, and check for a clog (our guide on how to unclog a garbage disposal walks through it). If your old disposal still won’t run after all that, it has probably seen its better days, and installing the new one yourself is a manageable project. Here’s how to swap it.
What tools do you need to install a garbage disposal?
You need a screwdriver, a thin flathead screwdriver, a pair of Channellock pliers, a small bucket, plumber’s putty, and sometimes a Torx (star) screwdriver depending on the mounting system. Most new disposals also include a wrench-style tool for the discharge connection.
Have a flashlight or headlamp handy too. Under-sink cabinets are dim, and you’ll be working mostly by feel with your hands above your head for part of this. Lay down an old towel or drop cloth since a little water always drips out when you break the old connections loose.
How do you remove the old garbage disposal?
Unplug the disposal first, then place a bucket underneath to catch drips before loosening the discharge pipe with Channellock pliers. Always confirm it’s unplugged or the breaker is off before touching anything inside the unit.
Find the discharge pipe, the short pipe connecting the disposal to the P-trap, and loosen the slip nut. There’s also a flange piece mounting that pipe to the disposal body, removable with a screwdriver or wrench depending on your model. Set those pieces aside.
The metal mounting ring holding the disposal to the sink also works as a quick-release. Turn it a quarter turn with a screwdriver to drop the unit free. It’s heavier than it looks, so keep one hand under it as it comes loose.
Once the disposal is out, remove the mounting assembly itself. Three screws hold the mounting flange; back them out, then use a thin flathead screwdriver to pop the snap ring apart. Pull the sink flange up from inside the sink basin and scrape off the old putty residue so the new seal has a clean surface.
How do you mount and seal the new disposal unit?
Roll a half-inch bead of plumber’s putty around the new sink flange, press it into the drain opening by hand, and hold it in place with the new disposal unit’s weight while you work underneath. A clean, even putty bead is what keeps water from seeping around the drain opening later.
Underneath the sink, reassemble in order: the rubber gasket, then the flange ring, then the mounting ring, then the snap ring that locks it all together. Check your disposal’s included instructions here since mounting hardware varies by brand, and this is the step people get backward most often. Tighten the three mounting screws snug, not forced. Overtightening cracks the flange plastic.
Wipe away the putty that squeezes out around the sink opening with a rag before it sets. Then lift the new disposal into position, seat it against the mounting ring, and turn it a quarter turn to lock, the opposite direction from how you released the old one.
Reconnect the discharge pipe assembly to the new unit’s discharge port, and if the disposal feeds a dishwasher, don’t forget to knock out the knockout plug on the inlet before connecting that hose. Use your Channellock pliers on the slip nut at the trap end, snug but not overtightened, since PVC and plastic trap fittings crack under too much torque.
When should you call a plumber instead of doing it yourself?
Call a plumber if your new disposal needs a dedicated electrical circuit, if the existing wiring under the sink looks outdated or isn’t a simple grounded plug, or if the discharge pipe alignment doesn’t match your new unit’s height.
If you turn the water back on and see even a slow drip at the sink flange or the discharge slip nut, that’s not something to leave and hope it stops. A loose connection under a disposal is a common source of slow cabinet-floor water damage that goes unnoticed until the particleboard swells. RT Olson Plumbing, Heating and Air Conditioning installs and repairs disposals across Corona and the surrounding Inland Empire, and our garbage disposal services page covers what a professional install includes if you’d rather hand off the electrical and alignment work.
Once everything is connected, plug in the new disposal, run cold water, and flip the switch to test it. Check every connection point you touched for drips while it’s running. A disposal installed cleanly, with a proper putty seal and snug (not overtightened) fittings, should run leak-free for years.
If the install turns up wiring you’re not comfortable with, or the fit just isn’t right, call RT Olson Plumbing, Heating and Air Conditioning at (951) 344-5596 to have it finished correctly.
About RT Olson Plumbing, Heating and Air Conditioning
RT Olson Plumbing, Heating and Air Conditioning has served Corona, CA and the surrounding Inland Empire since 2014, holding California contractor license #997337 (verify any contractor’s license at cslb.ca.gov). The company offers 24/7 service and holds a 4.9-star Google rating across more than 600 reviews. This guide first ran on RT Olson’s previous website and was updated for Corona homeowners in October 2026.